Clean surfboard shaping stages - Triocean Surf | Blog
We are open 7 days a week, 9-5pm ›

Clean surfboard shaping stages

June 14 2018 Categories: Tips and Tricks, Videos

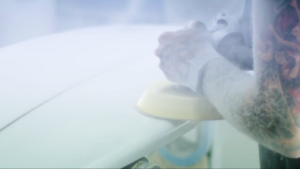
Surfboard shaping doesn’t have to be a messy process, here’s a little clip on the one of the cleanest shaping processes I’ve seen.

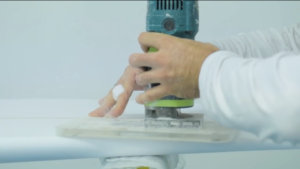
This video also follows Jason Frost as he walks through each of the surfboard shaping stages. To keep it simple, there are really are four main stages to shaping:

  • Shaping of the board from a blank – a factory such as the one in the video, it would most likely have been shaped on a CNC machine. This is then fine tuned by the sharper to get the right profiles and concave’s.

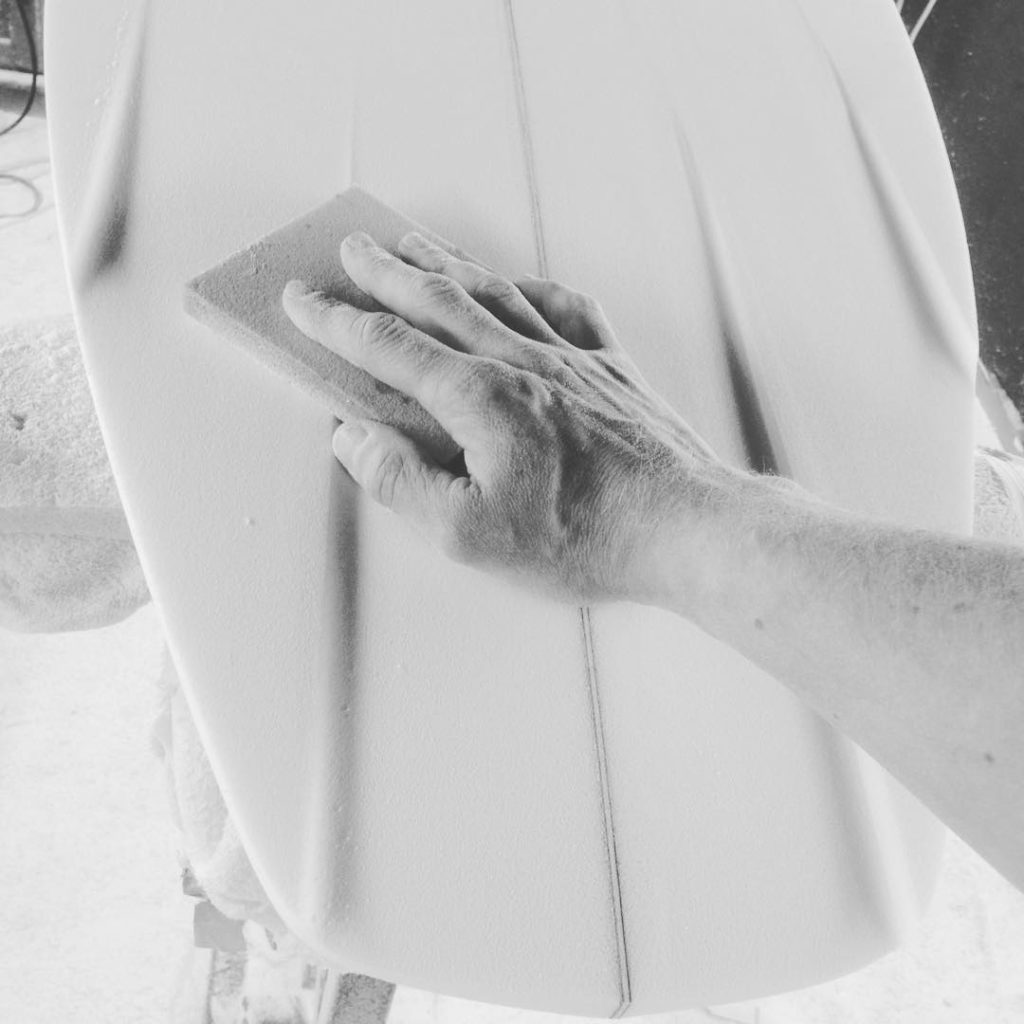
Luke Young finishing some quite intricate channels on one of his models; not an easy thing to do!

  • Routing the plugs/ fin installation – an other important part, where the fins are placed and at what angle will make a big impact on how the board preforms. FCS II plugs are usually angled at 9° or 5°.


  • Glassing/ laminating process – this is what adds the strength to the board. Usual stock shortboards are glassed using 4 and 6 ounce fibreglass on the deck and 4 ounce fibreglass on the bottom. As Jason mentions’ team boards are glassed lighter to reduce the weight and increase performance.

  • Sanding and hot coat – the final process which get the boards smooth and ready to surf.


So when we get asked why surfboards are so expensive, if  made properly by hand, it’s quite a labour intensive process. You can now see the difference between a proper hand made surfboards, over the cheaper mass factory produce Chinese pop-outs.

As a good customer of ours and one of the UK’s top shaper’s once said: “Good boards aren’t cheap, and cheap boards aren’t good!” I stand by that rule.

That was Luke Young, who told me that!


Get Involved

Socialise & share with us

Sign up to our newsletter or join us on Facebook, Twitter, Instagram and Google+ to receive our latest news and offers.